January 26, 2026
How To Create an Apple App Store Developer Account?
💡 TL; DR: Steps to create an Apple Developer Account
|
After building a mobile app, there are just a few final steps before you can publish it. If you’re wondering how to create an Apple App Store developer account for full management control, this guide will walk you through the enrollment process step by step and help you avoid basic errors that could lead to rejection by Apple.
What to prepare before enrolling in the Apple Developer Program?
To upload an app to the App Store, you must be a member of the Apple Developer Program, which incurs an annual fee of $99. If you haven’t registered yet, you should create an Apple Developer account. If you already have one, you can skip the enrollment process and proceed directly to inviting OneMobile as an administrator to your account. There are two kinds of iOS developer accounts: Personal and Organization, and the requirements vary depending on which one you go with.
| Account type | Requirements |
| Personal (If you’re an individual or sole proprietor/single-person business that wants to publish apps under your personal legal name.) |
|
| Organization (If you’re an employee at a company, nonprofit organization, joint venture, partnership, or government organization that wants to publish apps under its legal name.) |
|
How to create an iOS developer account?
Follow these steps to enroll in the Apple Developer Program and activate your account:
Step 1: Create an Apple Account
If you don’t already have one, first create an Apple Account (formerly Apple ID). Go to Apple Account center and click “Create Your Apple Account”.
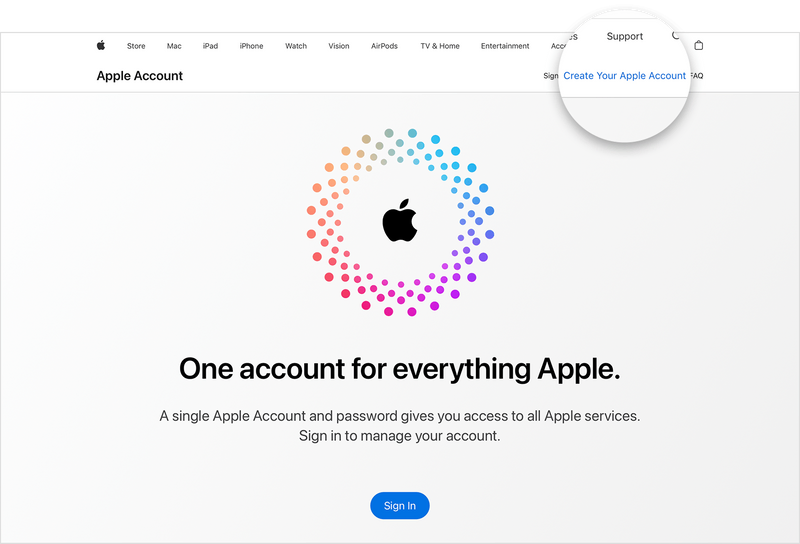
Enter your personal details, choose a password, accept Apple’s terms, and complete any text or phone verification steps. Ensure that two-factor authentication is enabled on this Apple account, as it’s required for developer enrollment.
Step 2: Enroll in the Apple Developer Program
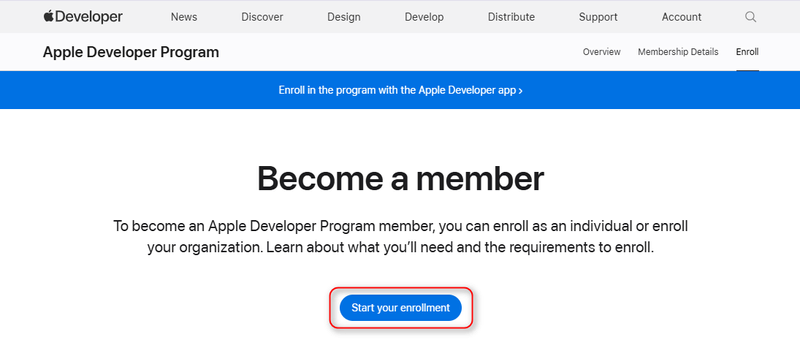
With your Apple Account ready, go to the Apple Developer Program website and click “Start your enrollment.”
Step 3: Sign in to Apple Developer Portal
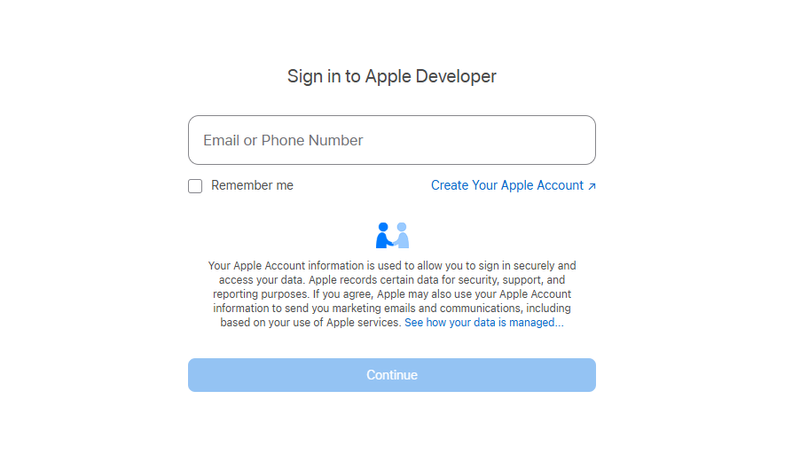
Use the same Apple Account you set up in Step 1 to sign in to the Apple Developer portal on your device.
Step 4: Read and agree with the Apple Developer Agreement
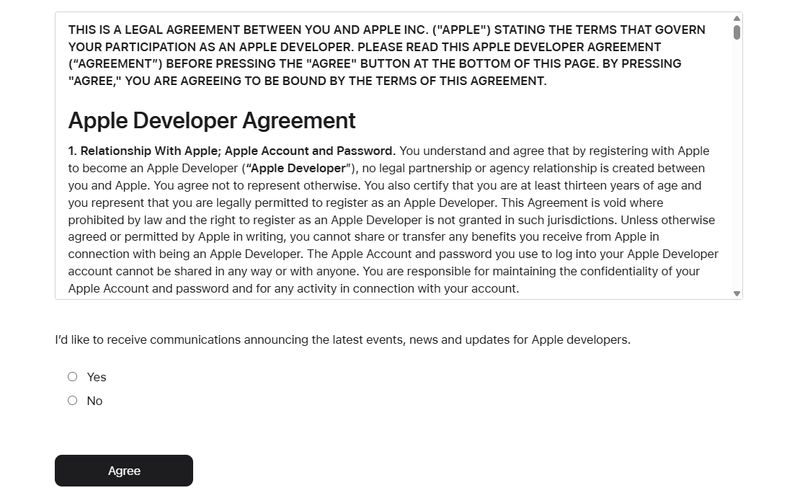
Now, Apple will display the Apple Developer Agreement. Carefully review this document, then click “Agree” to accept it. This acceptance registers you as an Apple developer and enables you to proceed with the enrollment process.
Step 5: Set up a developer profile (optional)
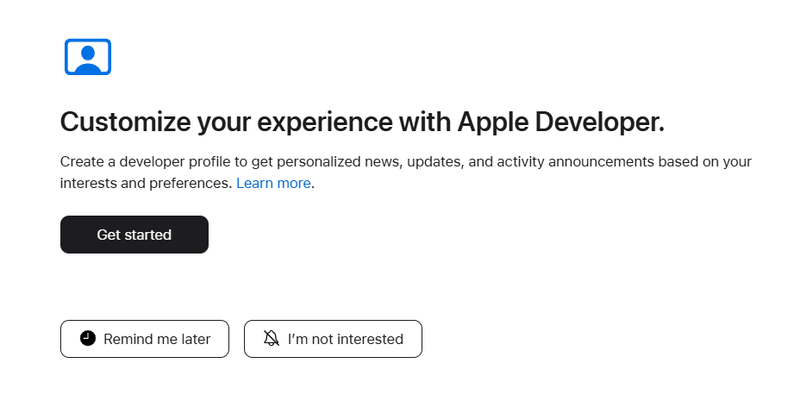
In this step, Apple gives you the option to personalize your developer account by selecting your interests and preferences. Simply click “Get Started” if you’d like tailored news and updates, or skip this step by choosing “I’m not interested” or “Remind me later.”
Step 6: Choose a method to continue your enrollment
At this point, you’ve signed in to the Apple Developer Portal and are on the free plan. This lets you access resources, tools, and community forums, as well as use Xcode and test apps on your own devices. However, you won’t be able to publish apps on the App Store until you upgrade to the paid Apple Developer Program, which unlocks additional features and benefits.

You can choose to continue enrollment on the web or download the Apple Developer app to complete the enrollment process.
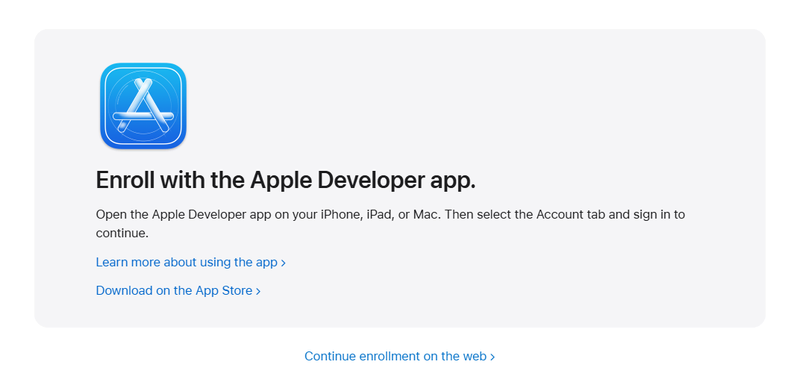
Step 7: Confirm your personal information
Next, enter your personal details exactly as they appear on your government-issued ID. Typically, you’ll need to input your legal first name, last name, address, and phone number. Apple uses your legal name as the seller name for any apps you publish, so be sure it’s correct.
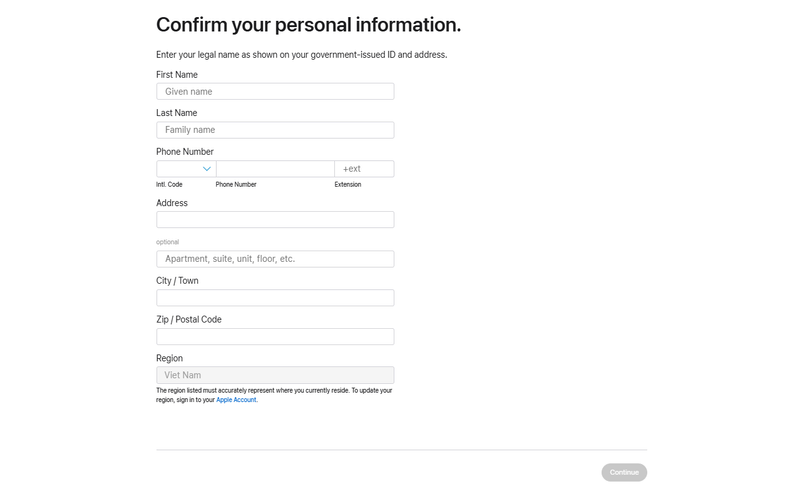
Step 8: Select your entity type
At this stage, you must select your entity type as Personal (“Individual/Sole Proprietor”) or Organization (“Company/Organization”, “Nonprofit”, “Accredited Educational Institution”, and “Government Organization”).
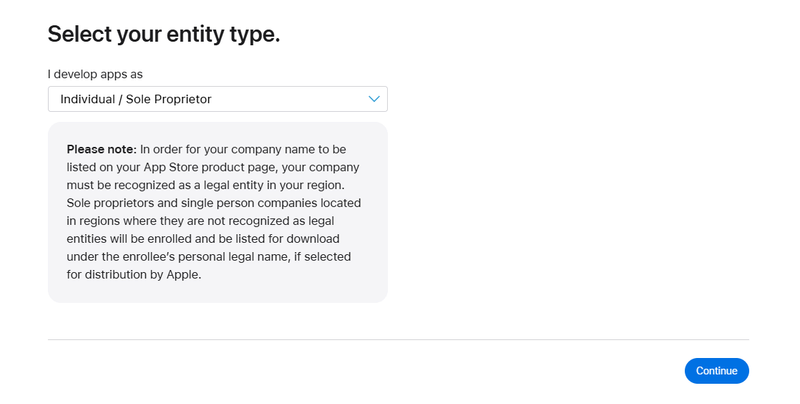
Step 9: Provide business entity verification (Organization account only)
If you choose to register your entity as an organization, you must provide business entity verification to demonstrate that your organization’s legal entity has been recognized in your region.
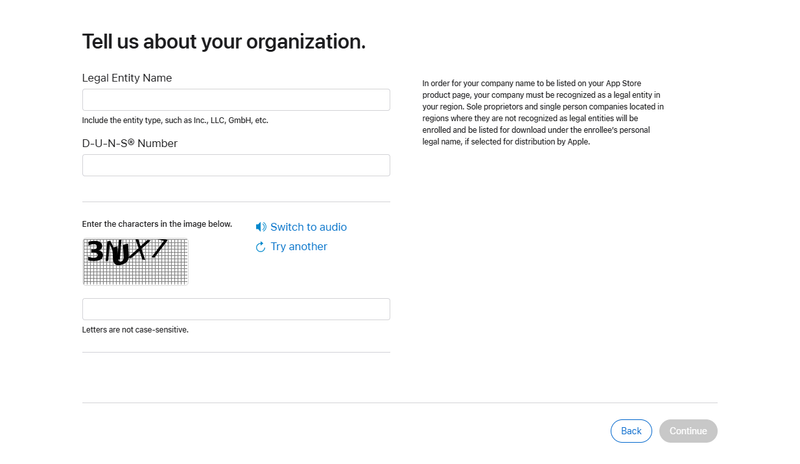
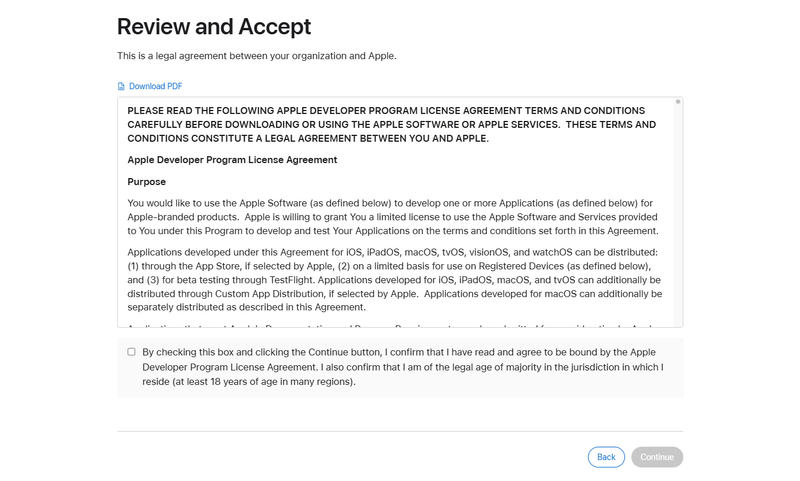
Step 10: Review and accept the Apple Developer Program License Agreement
Apple will next show the full Apple Developer Program License Agreement, which is the contract for the paid membership. Review the terms carefully, then check the confirm box and click “Continue” to accept them.
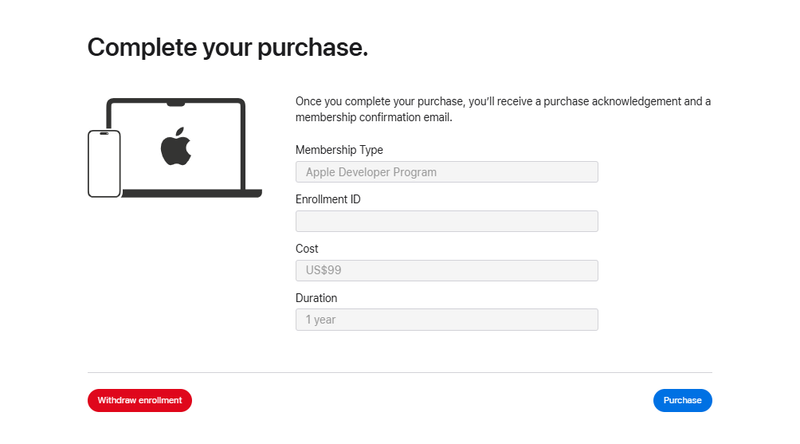
Step 11: Complete your purchase
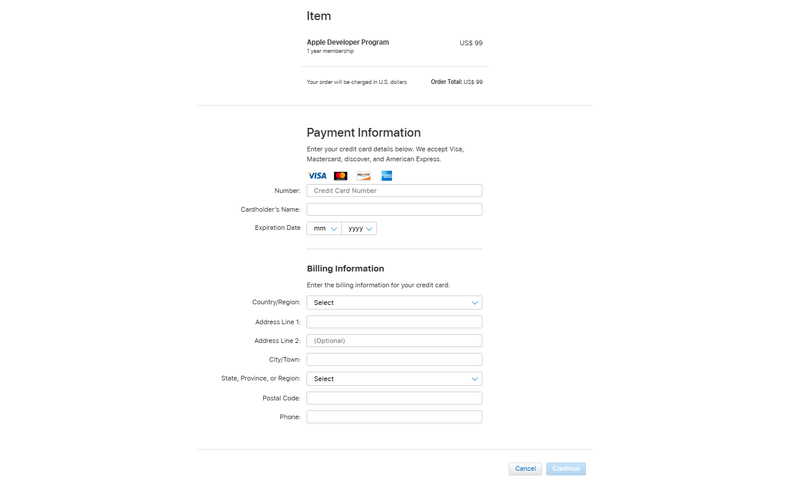
Finally, Apple will display the purchase page for the annual subscription. Review the billing amount and duration, confirm, and tap “Purchase” to go to the “Complete Your Order” tab.
Enter your payment information, then click “Continue” to pay the membership fee. The payment is charged to the credit card linked to your Apple Account.
Once the payment goes through, Apple will email you a receipt and a confirmation of your new membership. Your Apple Developer account is now active, and you can sign in to App Store Connect to submit apps.
Conclusion
We’ve walked you through the process step by step on the way to creating an Apple Developer account. You can now access App Store Connect to upload and manage your apps, configure certificates and profiles, and invite team members if needed. We hope this guide helps you successfully sign in and move forward to publishing your app with confidence.
Frequently asked questions
Is an Apple Developer account free?
No, it’s only free for registration. To release apps publicly, you must pay the annual $99 fee.
Do I need an LLC for the Apple Developer Program?
No, you don’t need an LLC unless you want to publish under a company name.
- If you enroll as an Individual, you use your personal name and do not need a business entity.
- If you enroll as an Organization to have your company appear as the app’s seller, then your business must be a legally registered entity that can enter into contracts. In that case, your business could be an LLC, a corporation, a partnership, or another formal entity.
Can I publish my app without an Apple Developer Account?
Yes, if you choose to build your app through OneMobile, then you can publish your iOS app using our Shared Developer Account. However, for complete control, we still highly recommend creating your own.
Table of Contents
Table of Contents
Read more articles
How To Advertise Your Mobile App During Pre-Launch, Launch and Post-Launch Stage
By Alexandre Le
January 26, 2026
14 Common Apple App Store Rejections and How To Avoid Them
By Alexandre Le
January 26, 2026
